Most web developers and It personnel have been dealing with setting up spf, DKIM, and dmarc for a few years. But it really hit a hard stop to get these settings in place due to new FCC regulations as well as Google and Yahoo putting their foot down regarding email spoofing and mass spammers (which is what we call those marketers sending 5k+ emails a day that we don’t want). We’ve been adding spf records to DNS for years, but DKIM and dmarc, not so much. However, since at least October of 2023, we’ve been working on email deliverability, especially because most of our clients have online forms that would use the server’s smtp. For WordPress, we use an smtp plugin. For html sites, we’ve decided to use 3rd party form processors like JotForms or Google forms. Online newsletter services like Constant Contact, Mailchimp, etc. have made the default sending email one of their own email addresses by appending your business name to their email address as an alias, but you still have a high chance of your email ending up in the spam box. The best way to set up your domain is to add all the records necessary to ensure email delivery in the inbox. It’s really not hard if you have all the steps together, in one place as all the sites on the internet have everything up there piecemeal. Even webhosts and mail providers don’t have all these steps together in one place. Well here we are showing how to do this if using Google WorkSpace, with Mailchimp as an example. We will be adding MS 365 and Zoho settings here in a separate blogpost.
Step-by-Step how to add spf, DKIM and dmarc to your domain’s DNS.
Where is your domain’s DNS hosted?
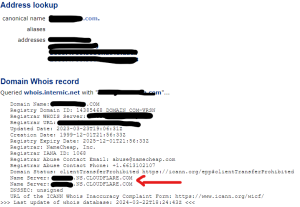
Your domain’s DNS might not be at the same place as where you bought your domain. For example, you might have purchased your domain at GoDaddy, but you put in custom nameservers for CloudFlare. If you don’t know, go to https://centralops.net, put in your domain name and click Go. You’ll get something similar like below and it will tell you where your DNS is being managed:

Steps after logging into where your DNS is managed
Once you know where your DNS is hosted, you need to be able to login. Below are the steps to take from there.
- Login to Google WorkSpace to make sure your email is active in Google WorkSpace (if it is, skip to #3)
Account->Domains-Manage Domain
Activate Gmail for the domain name, click for Step 2 and following the directions on that page. Click Activate Gmail when done. - Switch to your DNS provider tab in your browser, and add the Google WorkSpace MX records that Google gives you for email.
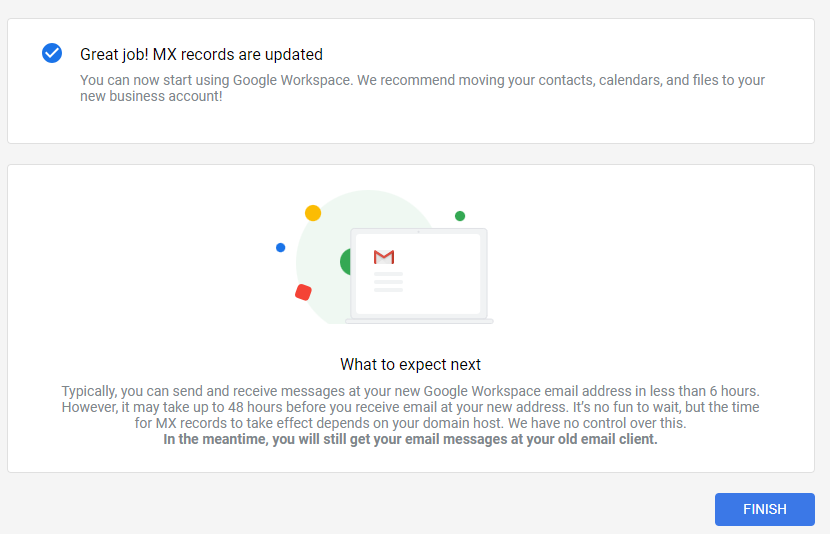
- If Google sees your MX records are added, you will see the below (sometimes it takes an hour or so so you have to check back later)

- Add the Google WorkSpace spf records at your DNS host: Add txt record:
Host Name: @
Content: v=spf1 include:_spf.google.com ~all. - In Google Workspace generate the necessary DKIM record, and copy it.
Apps->Google Workspace->Gmail
Generate New Record
Copy it to Notepad or somewhere to use next - At your DNS host, add a new txt record DKIM from Google Workspace to the DNS.:
host name: @
content: what you copied in #4 above
(note: most registrars do not want your domain name included in the @ portion and may give you an error) - At your DNS host, add a txt record for dmarc
such as :
host name: _dmarc
Content: v=DMARC1; p=reject; rua=mailto:WEBMASTER-EMAIL-ADDRESS
Some services will give you some different content to add and you can leave off rua= as it makes your email address visible to the public
(note: most registrars do not want your domain name included in the @ portion and may give you an error) - Test the spf, dkim and dmarc online at mxtoolbox: https://mxtoolbox.com/SuperTool.aspx.
- Send and receive some test emails
- Verify your domain name in Mailchimp: https://mailchimp.com/help/verify-a-domain/ the first section is what is needed.
- Authenticate your domain in Mailchimp: https://mailchimp.com/help/set-up-email-domain-authentication/ by copying the settings Mailchimp gives you into the DNS host. Mailchimp might require a CNAME instead of a txt record.

